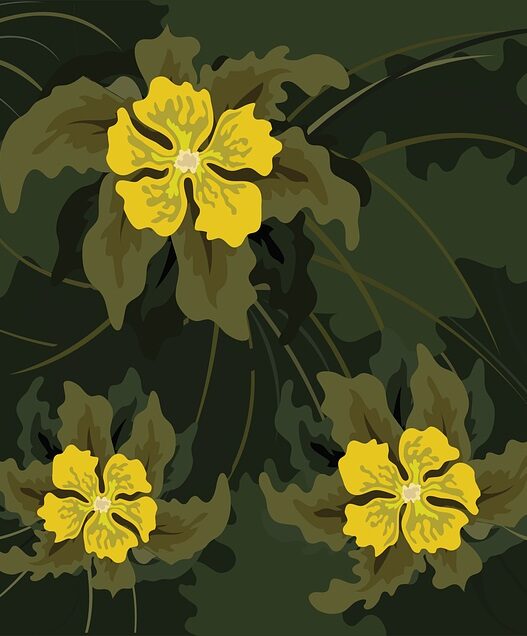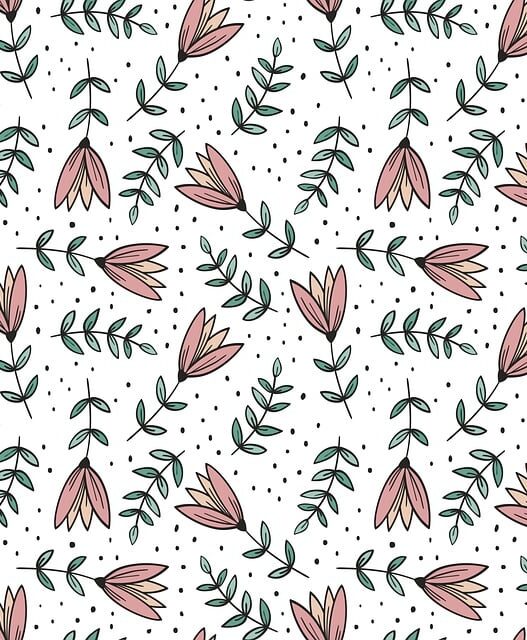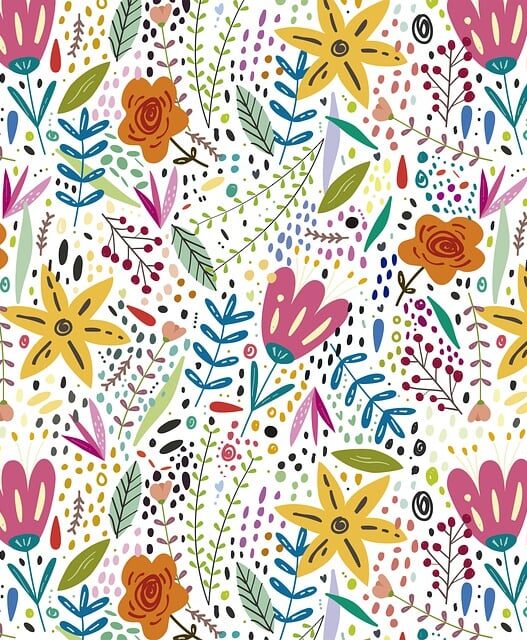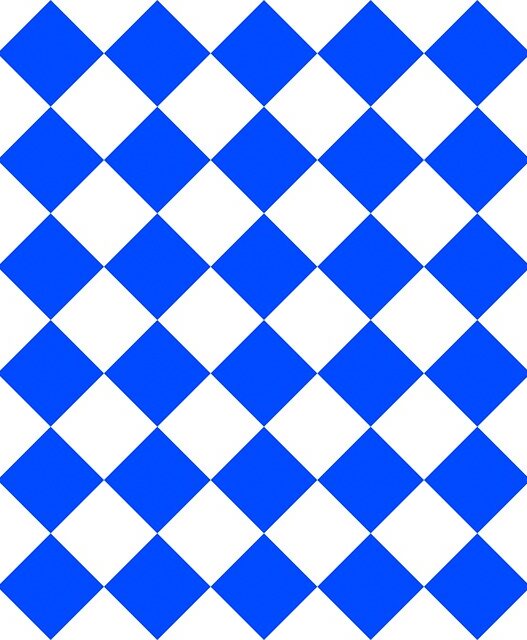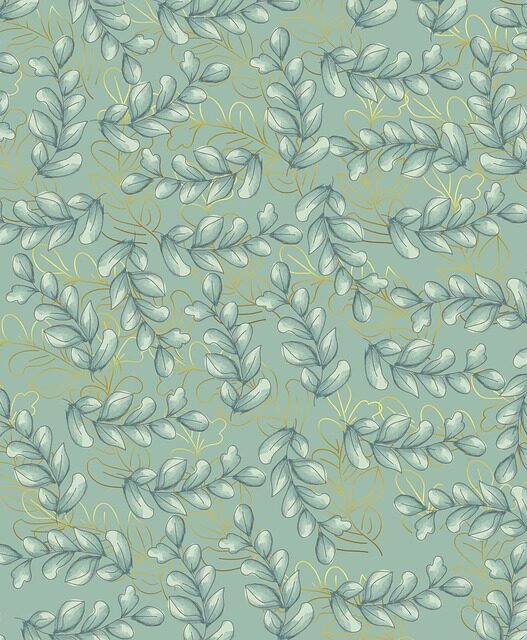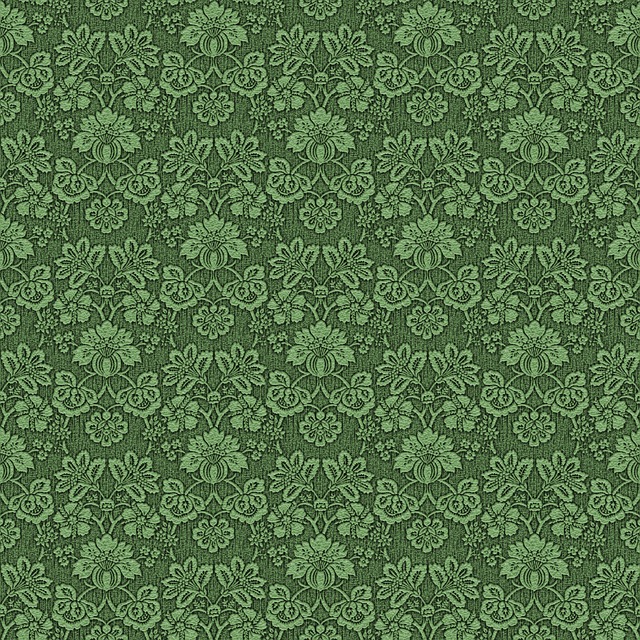


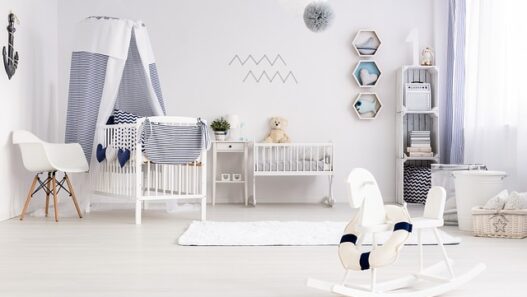

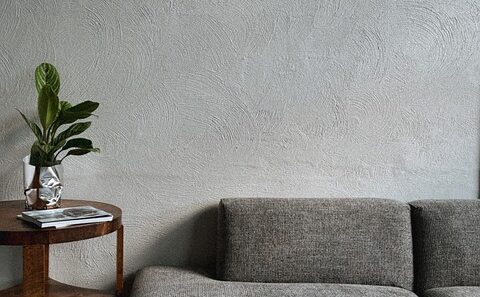


The world of wallpapering is full of rewarding moments, but let’s be honest, corners can feel like the final boss level. You’ve masterfully navigated the long, straight stretches, smoothed out every bubble, and now you’re faced with that daunting intersection of two walls. Fear not, fellow DIY warriors! Mastering how to wallpaper around corners isn’t as intimidating as it seems. With the right technique and a few clever tricks up your sleeve, you’ll conquer those tricky turns like a seasoned pro, ensuring your beautiful wallpaper for home interiors looks seamless and stunning.
We’ve all seen wallpaper jobs where the corner looks like an afterthought – bunched up, misaligned, or even peeling. That’s precisely what we’re aiming to avoid. The secret lies in understanding that corners, particularly outside corners (where walls meet and jut out) and inside corners (where walls meet and recede), require a slightly different approach than flat wall surfaces. It’s about accommodating the natural imperfections of your walls and ensuring a smooth, durable finish.
Inside Corners: The Gentle Curve
Inside corners are generally more forgiving than their outward-facing counterparts. The key here is to avoid wrapping a single piece of wallpaper too tightly into the corner, which can lead to tearing or bubbling as the wallpaper tries to conform to a less-than-perfect angle. 
1. Measure and Overlap: When you approach an inside corner, measure the distance from the edge of your last hung strip to the corner. Add about 1/2 to 1 inch to this measurement. This overlap will allow your wallpaper to turn the corner and extend slightly onto the adjacent wall.
2. Cut and “Score” (Don’t Cut Through!): Hang the strip, carefully aligning it as usual. Once it reaches the corner, use your smoothing tool to press the wallpaper firmly into the corner. Now, here’s the crucial step: using your utility knife (with a fresh blade!), very lightly score the wallpaper right into the crease of the corner from top to bottom. You’re not cutting all the way through, just creating a weakened line. This slight score will help the wallpaper lay flat and prevent buckling.
3. The Overlap Strip: Now, take your next strip of wallpaper. Measure from the corner out onto the new wall, ensuring your pattern matches up perfectly with the small overlap from the previous strip. Apply this new strip so that it slightly overlaps the scored edge of the previous strip.
4. The Double Cut (The Pro’s Secret): This is where the magic happens for an invisible seam. Using a straightedge and your sharp utility knife, make a single, clean cut through both layers of wallpaper directly in the corner. Carefully peel away the excess wallpaper from both the top and bottom layers. Smooth the newly cut seam down with your seam roller. This “double cut” method creates a perfectly flush and virtually invisible seam, making your wallpaper installation look professional.
Outside Corners: The Wrap-Around Challenge
Outside corners can be a bit trickier because they are more exposed and prone to bumps and snags. The goal is to wrap the wallpaper securely around the corner without tearing or showing an awkward seam.
1. The Overlap is Your Friend (Again!): When you approach an outside corner, measure the distance from the edge of your last hung strip to the corner. Again, add about 1/2 to 1 inch to this measurement to ensure your wallpaper wraps around the corner and onto the adjacent wall.
2. Cut Relief Cuts (If Necessary): Hang the strip, carefully pressing it into the corner. If your wallpaper is thick or the corner isn’t perfectly sharp, you might find it difficult for the paper to lay flat. In this case, you can make small, angled relief cuts (like a ‘V’ shape) into the overlap at regular intervals (every few inches) along the corner. This allows the wallpaper to flex and conform better to the corner’s shape.
3. The Second Strip and Overlap: Once the first strip is securely wrapped, take your next strip. Start this new strip on the adjacent wall, but make sure it slightly overlaps the wrapped edge of the previous strip. This overlap should be consistent and straight.
4. The Double Cut (Yes, Again!): Just like with inside corners, the double cut is your best friend here. Place your straightedge along the edge of the second strip, directly on the corner. Using your sharp utility knife, cut through both layers of wallpaper. Remove the excess wallpaper from both the top and bottom layers. Smooth the new seam with your seam roller. This creates a clean, crisp, and durable corner.
Essential Tools for Corner Perfection
Before you embark on your corner-conquering mission, make sure you have these wallpaper tools at your disposal:
- Sharp Utility Knife (with plenty of fresh blades): This is paramount for clean, precise cuts. A dull blade will tear and frustrate you.
- Long Straightedge or Metal Ruler: For guiding your knife during the double cut and ensuring perfectly straight lines.
- Wallpaper Smoothing Tool: To press the wallpaper firmly into the corner and smooth out any air bubbles.
- Seam Roller: To gently press down and blend the seams, making them virtually invisible.
- Measuring Tape: For accurate measurements.
- Clean Damp Sponge: For wiping away excess paste.
Pro Tips for Pristine Corners
- Patience is a Virtue: Don’t rush when working around corners. Take your time to measure, cut, and smooth carefully.
- Wall Imperfections: Remember that very few walls are perfectly straight or plumb. The overlap and double-cut method are designed to compensate for these slight imperfections.
- Pattern Matching: Pay extra attention to pattern matching when you’re turning a corner. You want your design to flow seamlessly from one wall to the next.
- Primer for Durability: Applying a good quality wallpaper primer to your walls before hanging will improve adhesion, especially in corners, and make future removal easier. This is a crucial step in preparing your walls for wallpaper.
- Practice on Scraps: If you’re nervous, practice the double-cut technique on some scrap pieces of wallpaper. It takes a little getting used to, but once you master it, you’ll be amazed at the results.
By understanding these techniques and having the right wallpaper hanging tools, you’ll transform those intimidating corners into beautifully finished details. So, take a deep breath, trust the process, and get ready to impress yourself and everyone who sees your flawlessly wallpapered home!