


How to Install Peel-and-Stick Wallpaper in a Weekend: A Renter’s Guide to Quick, Stylish Decor
Why Peel-and-Stick Wallpaper is Perfect for Renters
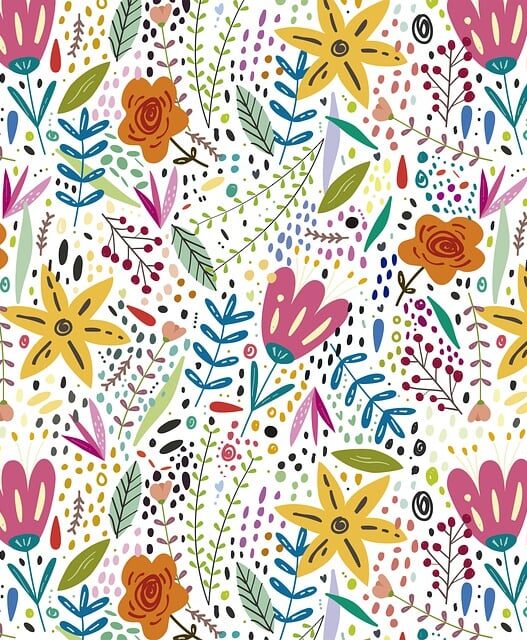
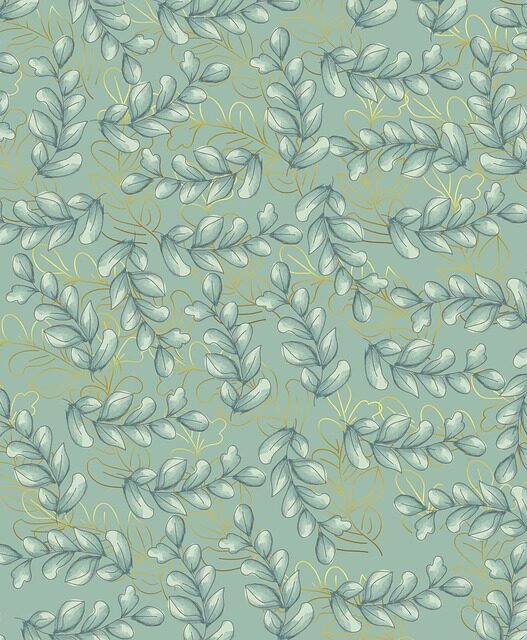
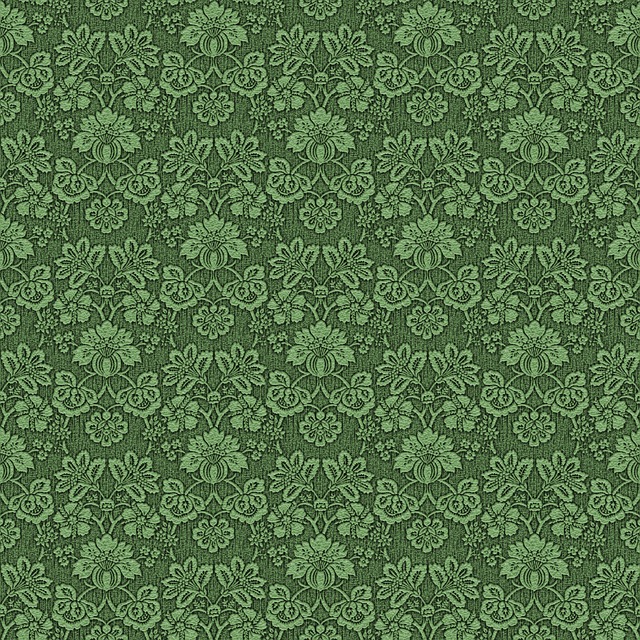
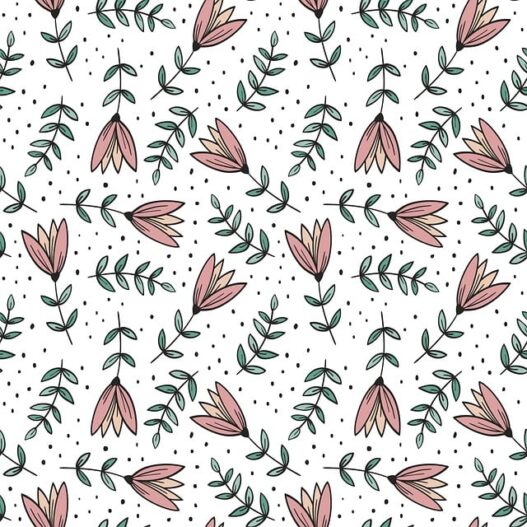
Peel-and-stick wallpaper is a game-changer for renters. It’s temporary, doesn’t damage walls, and comes in endless designs, from bold geometrics to subtle florals. Unlike traditional wallpaper, it requires no messy glue or professional help, making it ideal for DIY home decor projects. If you’re searching for renter-friendly wallpaper ideas or how to decorate a rental without losing your deposit, this weekend project is for you. With a bit of prep and patience, you can completely transform a room in under 48 hours.
Step-by-Step Guide to Installing Peel-and-Stick Wallpaper
1. Plan and Measure Your Space (Saturday Morning)
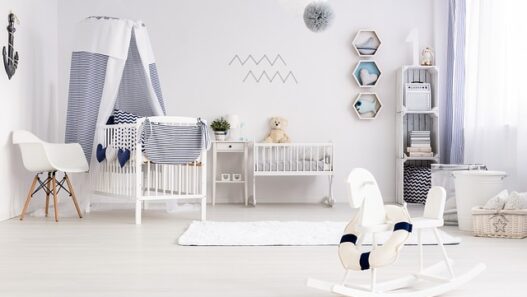
Start by choosing which wall to wallpaper—an accent wall behind a bed or sofa works wonders. Measure the wall’s height and width to calculate square footage, adding 10% extra for mistakes or pattern matching. Check your lease to ensure temporary wallpaper is allowed. Order your peel-and-stick wallpaper in advance, searching best peel-and-stick wallpaper brands for quality options.
Pro tip: Pick a pattern with a random repeat for easier alignment if you’re a beginner. 
2. Prep the Walls (Saturday Midday)
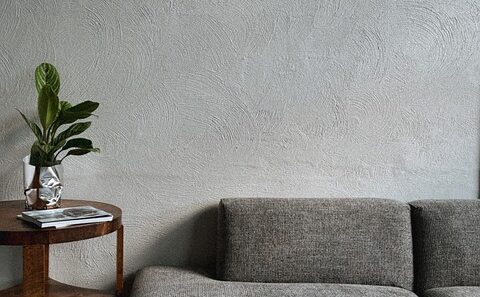
Clean walls thoroughly with a microfiber cloth and mild soap to remove dust or grease. Peel-and-stick wallpaper sticks best to smooth, dry surfaces, so let the wall air-dry completely. Remove outlet covers and switch plates for a seamless look. Use a level to draw light pencil guidelines for your first strip—straight lines are key for a polished finish.
SEO keyword tip: Searching how to prep walls for peel-and-stick wallpaper? A clean, smooth surface is non-negotiable!
3. Cut and Align the First Strip (Saturday Afternoon)
Unroll your wallpaper and cut strips slightly longer than your wall’s height (about 2-3 inches extra). Peel back a few inches of the backing and align the first strip with your pencil guideline, starting at the top. Work slowly, smoothing as you go with a smoothing tool or credit card to avoid bubbles. Overlap the ceiling or baseboard slightly for trimming later.
4. Match Patterns and Continue (Saturday Evening)
For patterned wallpaper, align the next strip carefully to match the design. Peel and stick gradually, smoothing as you go to prevent air pockets. If bubbles appear, lift the strip gently and reapply. Use a level to ensure each strip stays plumb. This step is crucial for DIY wallpaper installation success, especially for bold patterns.
5. Trim and Finish Edges (Sunday Morning)
Once all strips are applied, use a utility knife to trim excess wallpaper at the ceiling, baseboards, and corners. Cut slowly and use a ruler for precision to avoid jagged edges. Reattach outlet covers, trimming wallpaper around them for a clean look. Step back and admire your work—this is where the magic happens!
6. Inspect and Touch Up (Sunday Afternoon)
Check for any bubbles or loose edges. Small bubbles often disappear within a few days as the adhesive sets, but large ones can be smoothed out or pricked with a pin to release air. Wipe the wallpaper with a damp cloth to remove any smudges. Your renter-friendly masterpiece is complete!
Renter-Friendly Tips for Success
-
Test a Small Piece First: Apply a small strip in a hidden area to ensure it sticks well and removes cleanly.
-
Work with a Partner: An extra set of hands makes aligning and smoothing easier, especially for larger walls.
-
Store Leftovers: Keep extra wallpaper for future touch-ups or to patch small damages.
-
Check Removal Instructions: Before moving out, test removal in a small area to ensure it peels off without damage.
Why This Weekend Project Works
This peel-and-stick wallpaper installation guide is tailored for renters because it’s quick, non-invasive, and reversible. You can complete it in a weekend with minimal tools and no professional help. Plus, it’s budget-friendly—most quality peel-and-stick rolls cost $30-$50, making it an affordable way to refresh your space.
Common Mistakes to Avoid
-
Skipping Wall Prep: Dirty or textured walls can cause peeling or uneven application.
-
Rushing Alignment: Misaligned strips can ruin the look and waste material.
-
Using Low-Quality Wallpaper: Cheap options may tear or leave residue, so invest in reputable brands.
Final Thoughts
Installing peel-and-stick wallpaper in a weekend is a renter’s secret weapon for stylish, temporary decor. With minimal tools and a bit of patience, you can create a space that feels like home without risking your deposit. Whether you’re searching how to install peel-and-stick wallpaper or renter-friendly accent wall ideas, this guide has you covered. Ready to transform your rental? Pick your pattern, grab your tools, and make it happen!
What’s your dream wallpaper design? Share your ideas below, and let’s keep the decor inspiration flowing!