


DIY Wallpaper Ideas for Temporary Room Dividers: Renter-Friendly Solutions to Define Your Space
Why Use Wallpaper for Temporary Room Dividers?
Peel-and-stick wallpaper is a game-changer for renters. It’s affordable, removable, and comes in countless patterns, making it perfect for adding personality to temporary room dividers. These projects are ideal for budget-friendly home decor because they use minimal materials and don’t require altering your rental’s walls or floors. Plus, they’re easy to disassemble when you move out, keeping your deposit safe. Ready to explore how to make a DIY room divider with wallpaper? Let’s get started with these creative ideas!
Creative DIY Wallpaper Room Divider Ideas
1. Folding Screen with Peel-and-Stick Wallpaper (4-5 Hours)
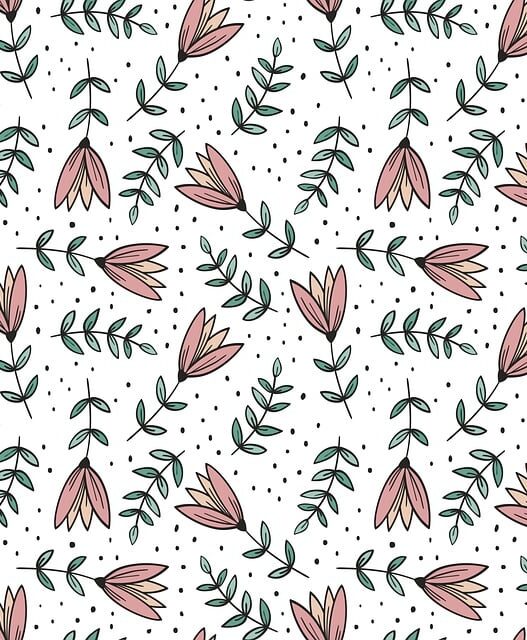
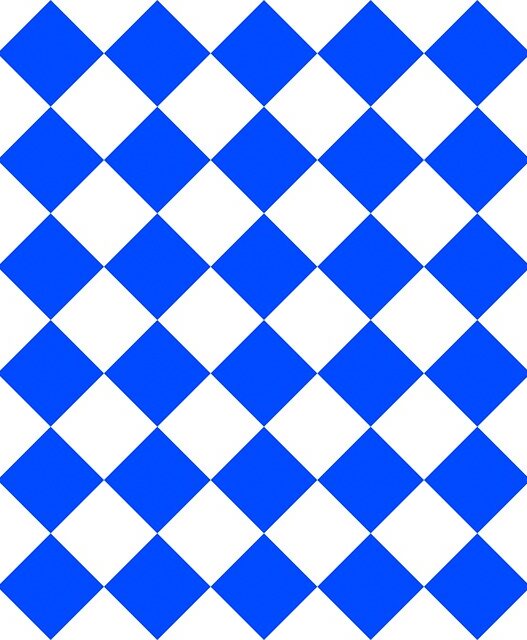
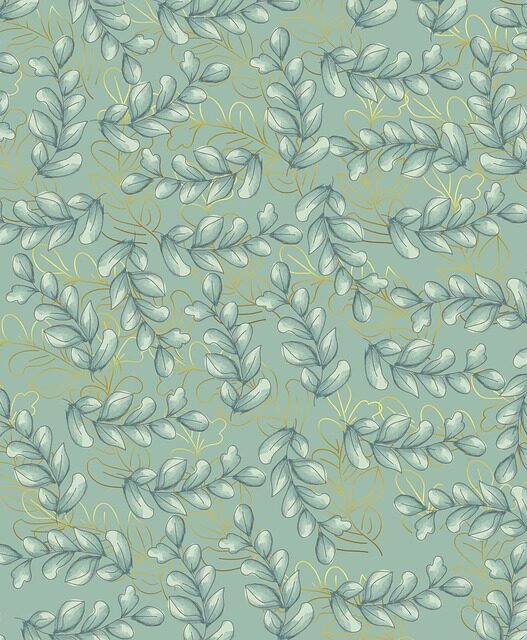
Create a classic folding screen using lightweight plywood or foam boards. Cut three panels (e.g., 2×4 feet each) and cover each with peel-and-stick wallpaper in a bold pattern like chevron or florals. Apply the wallpaper using a smoothing tool to avoid bubbles, trimming edges with a utility knife. Connect the panels with small hinges for a freestanding divider. This is perfect for renter-friendly room dividers and adds a chic focal point to any space.
Pro tip: Choose a double-sided pattern for a polished look from both sides. 
2. Hanging Wallpaper Panels (3 Hours)
For a lightweight, airy divider, hang foam boards covered with peel-and-stick wallpaper from a tension rod or ceiling hooks (check your lease for restrictions). Cut boards to size, apply wallpaper, and smooth carefully. Attach loops of ribbon or string to the top for hanging. This works great for temporary room divider ideas in small apartments or studios.
Keyword tip: Search DIY hanging room dividers for more inspiration on space-saving decor.
3. Wallpaper-Wrapped Cardboard Divider (2-3 Hours)
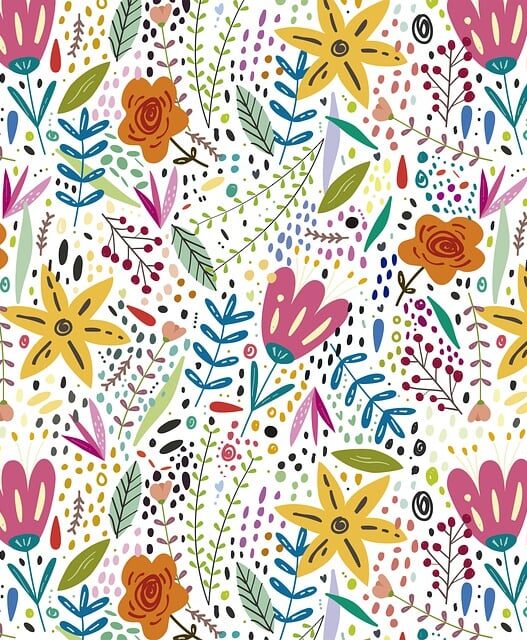
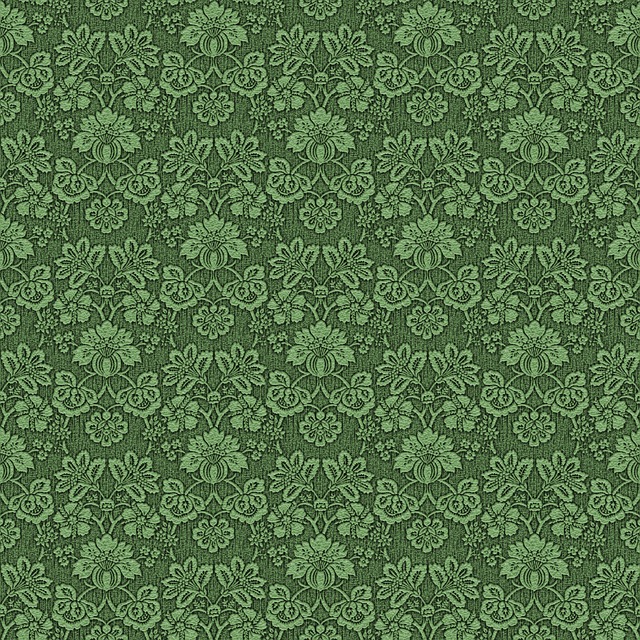
Repurpose sturdy cardboard (like old moving boxes) for an ultra-budget-friendly divider. Cut large panels to your desired size, glue them together for stability, and cover with peel-and-stick wallpaper. Use a bold geometric or tropical print for a modern vibe. Prop it up with a weighted base or secure with removable adhesive strips. This is a top pick for upcycled home decor projects and costs under $20.
4. Framed Wallpaper Panels (3-4 Hours)
Create a gallery-style divider by covering foam boards with wallpaper and framing them with thrifted picture frames or wooden trim. Apply the wallpaper, trim neatly, and attach the frames with glue or tape. Lean the panels against a wall or connect them with hinges for a freestanding option. This idea shines for DIY wall art room dividers and adds a touch of elegance.
5. Sliding Wallpaper Screen (5-6 Hours)
For a functional divider, mount wallpaper-covered foam boards on a sliding track system (available at hardware stores). Cut boards to fit, apply peel-and-stick wallpaper, and attach to the track with removable hardware. This is ideal for temporary office space solutions in rentals, offering privacy without permanent installation.
6. Accordion-Style Wallpaper Bookcase Divider (4 Hours)
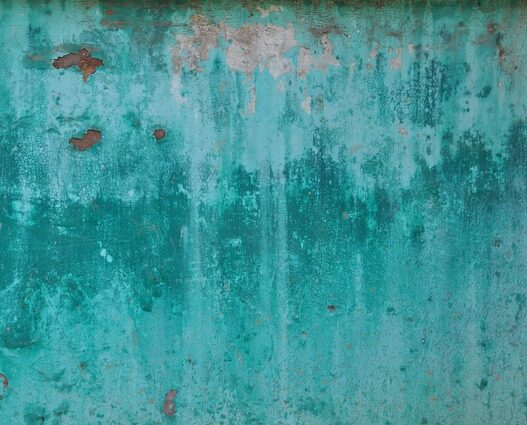
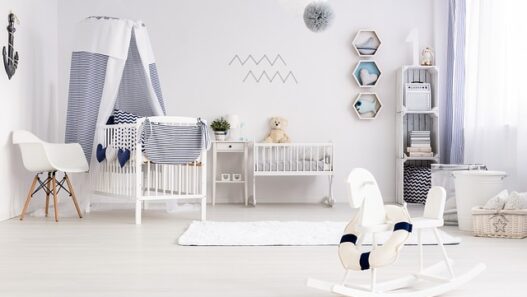
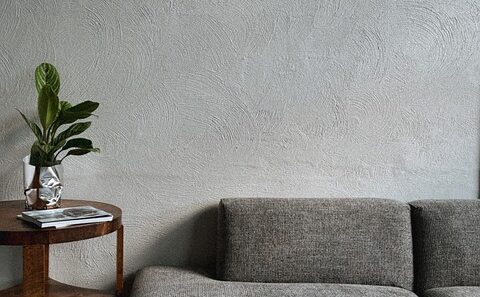
Use an old folding bookcase or create one from foam board panels. Cover each panel with peel-and-stick wallpaper in a cohesive pattern, like soft neutrals or bold abstracts. Secure panels with tape or glue to form an accordion shape. This divider doubles as storage and is perfect for renter-friendly space dividers in small apartments.
Renter-Friendly Tips for Success
-
Measure Carefully: Ensure your divider fits the space without blocking walkways.
-
Use Removable Materials: Opt for peel-and-stick wallpaper and adhesive tape to avoid wall or floor damage.
-
Save Scraps: Keep extra wallpaper for future repairs or matching projects.
-
Test Stability: For freestanding dividers, ensure they’re secure to prevent tipping.
Why These Projects Work for Renters
These DIY wallpaper room divider ideas are renter-friendly because they’re temporary, affordable (most under $40), and don’t require drilling or permanent fixtures. Peel-and-stick wallpaper ensures easy application and removal, while lightweight materials like foam board keep costs low. They’re perfect for budget-friendly room dividers and can be completed in a weekend.
Common Mistakes to Avoid
-
Skipping Prep: Clean surfaces before applying wallpaper to ensure adhesion.
-
Ignoring Pattern Alignment: Misaligned patterns look sloppy, so match carefully.
-
Overloading Weight: Heavy materials can make dividers unstable or hard to move.
-
Violating Lease Terms: Confirm your landlord allows temporary dividers, especially if using ceiling hooks.
Final Thoughts
Creating a DIY wallpaper room divider is a renter’s ticket to a stylish, functional space without permanent changes. These budget-friendly, eco-conscious projects use peel-and-stick wallpaper to add flair and define areas in your rental. Whether you’re searching how to make a temporary room divider or renter-friendly decor ideas, these crafts deliver. Grab your materials, unleash your creativity, and redefine your space this weekend!
What’s your favorite room divider idea? Share your thoughts below, and let’s keep the DIY decor inspiration flowing!